
how to setup your ext suspension
If you’ve just purchased one of our products, you will need to start setting up the suspensions on your bike. It’s very important to customize the adjustments according to your weight and riding style, in order to maximize the performance on your bike. We’re going to start with an essential MTB suspensions guide, where we want to explain you the main concept, functionality and adjustability of our products. Spending a couple of minutes understanding how to adjust your suspension will transform your riding experience.
- How to inflate your EXT fork?
- How to inflate your EXT air shock?
- How to find the correct spring rate for your shock?
- Set your shock sag
- Set your fork sag
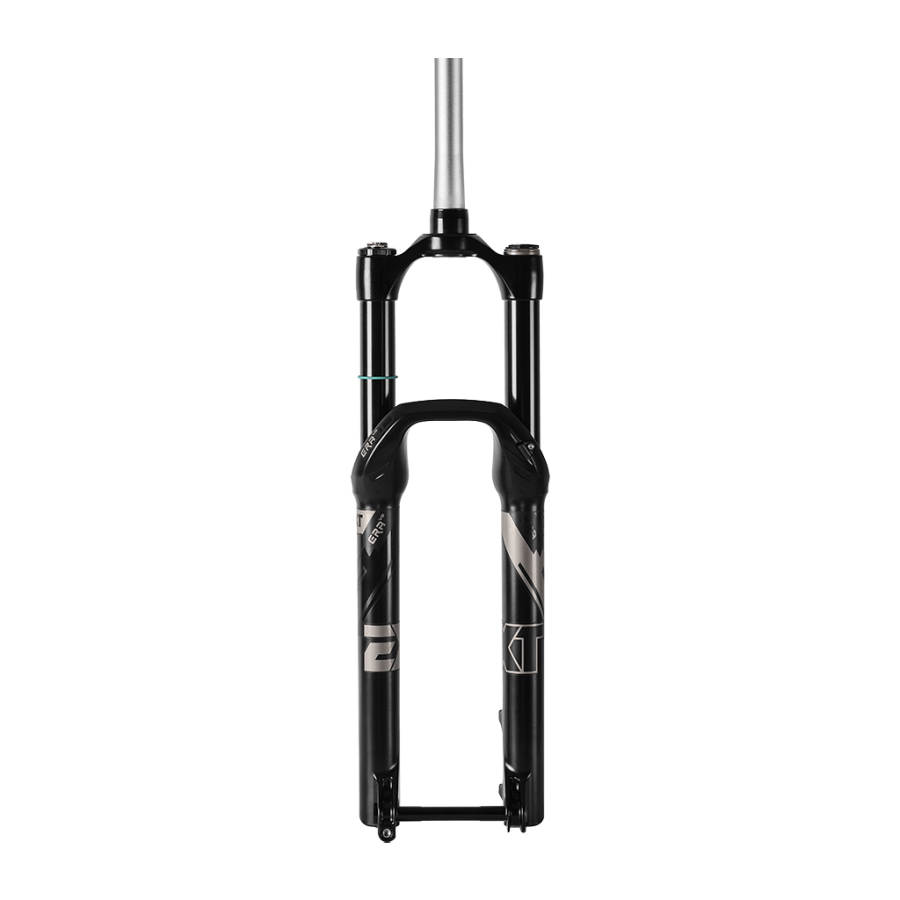
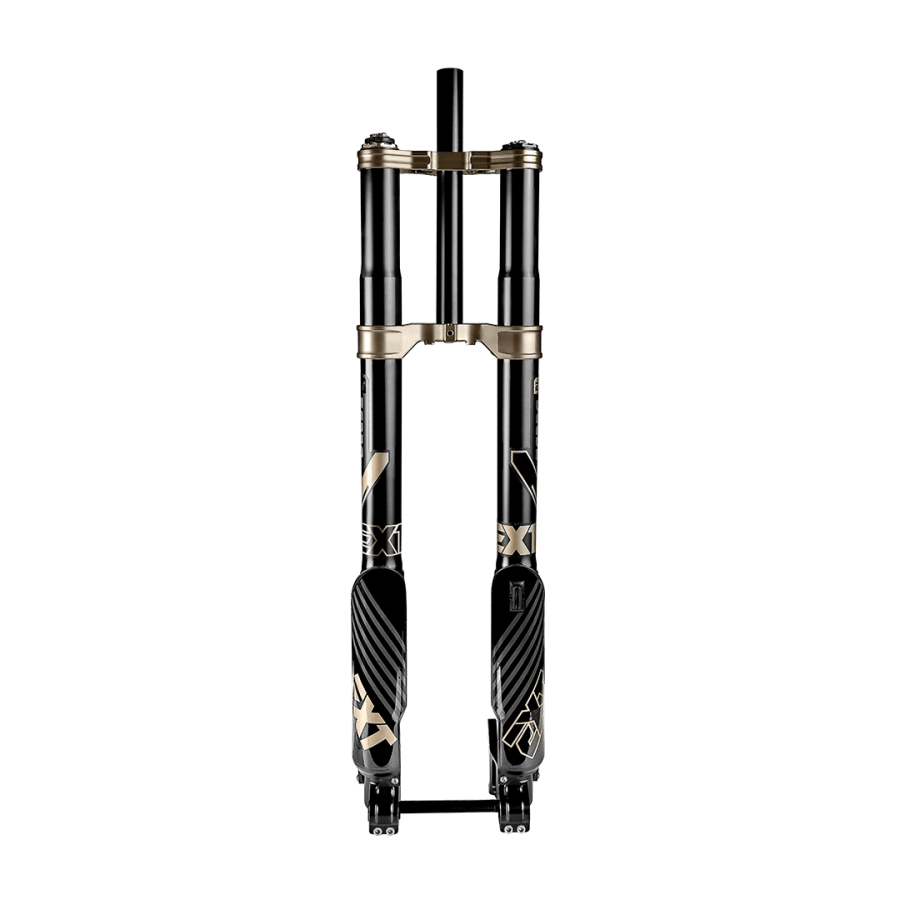
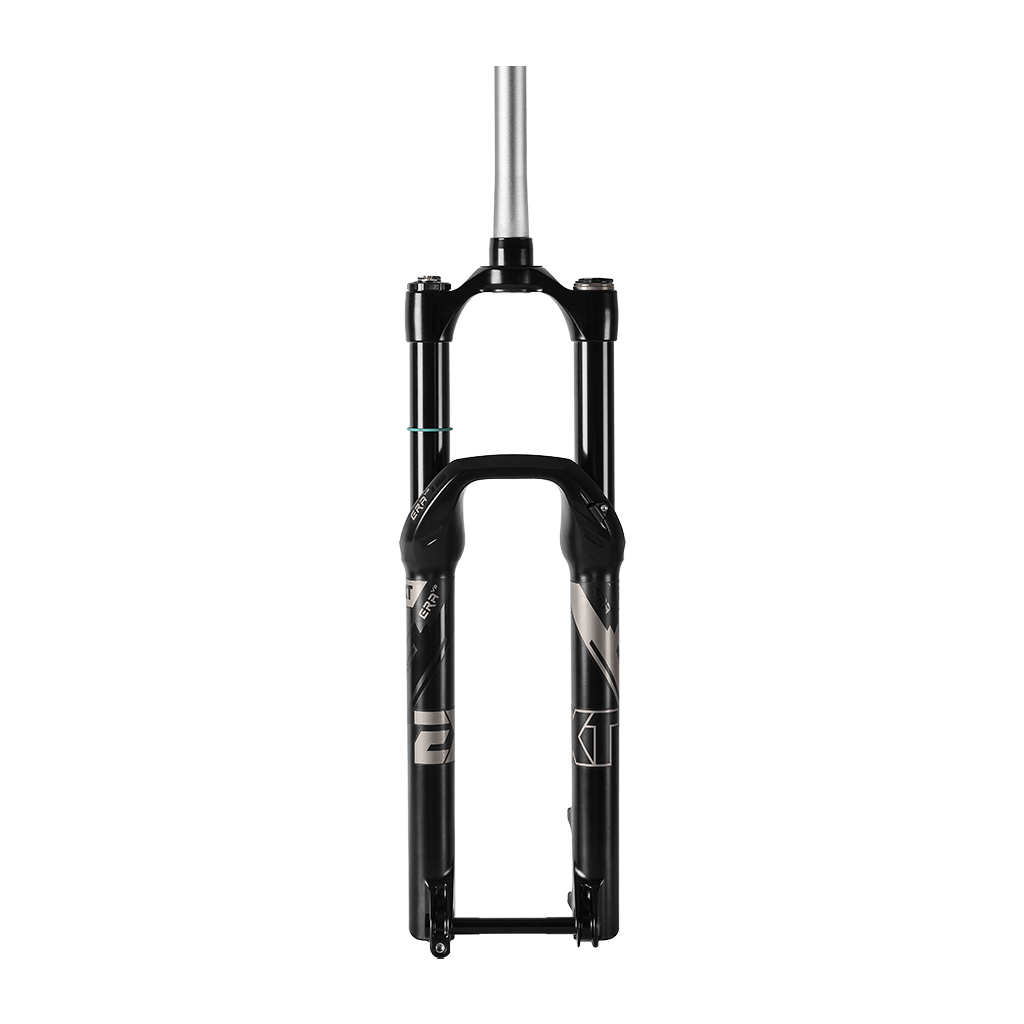
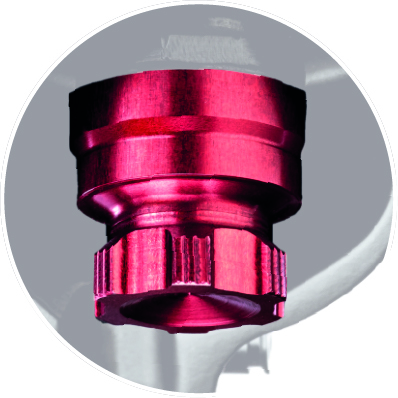
On top of the left leg/stanction of your ERA V2.1/ERA V2 LT fork you can find 2 air valves, to which you can access by simply removing the air top cap:
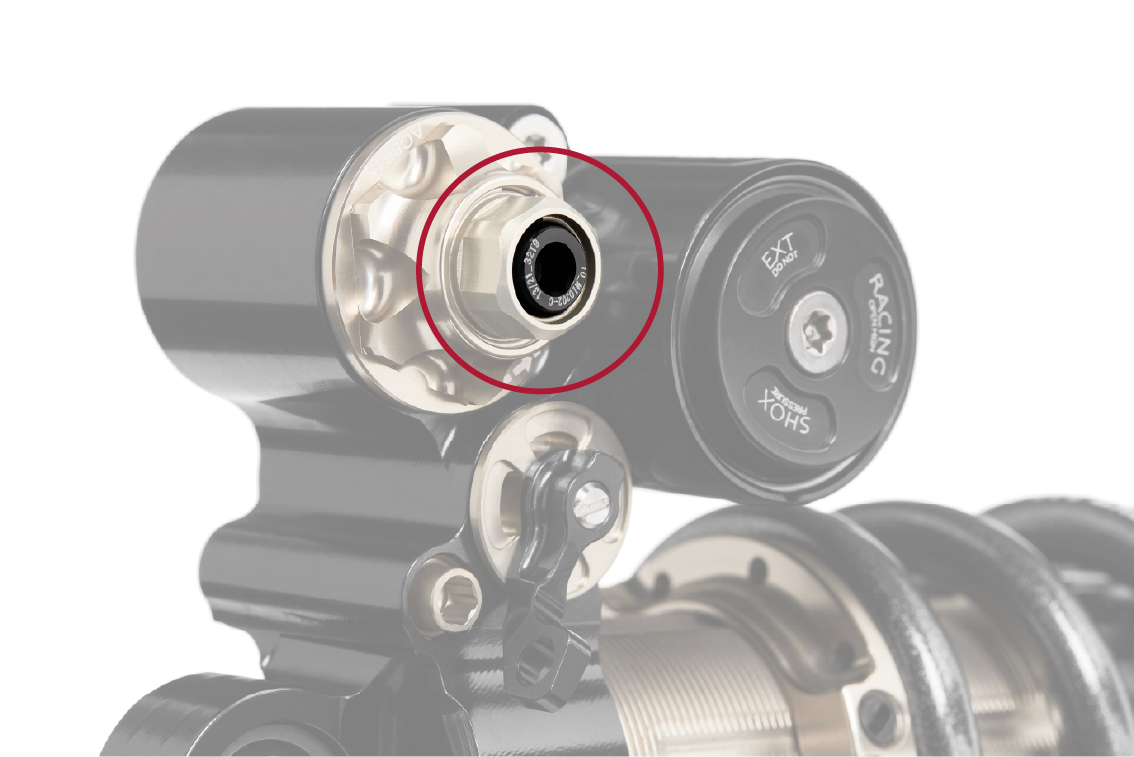
- + chamber air valve, characterized by the black color and laser marked + symbol allows to inflate the main volume of the system
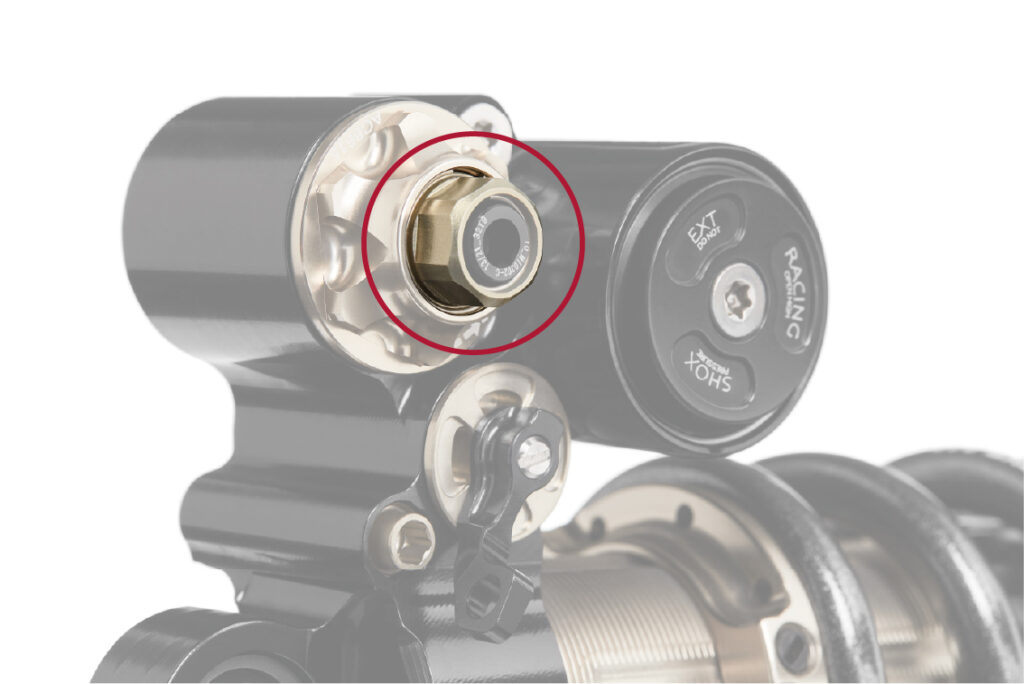
- ++ chamber air valve let you inflate the high pressure chamber and you can recognize it by its nickel color and the ++ symbol.
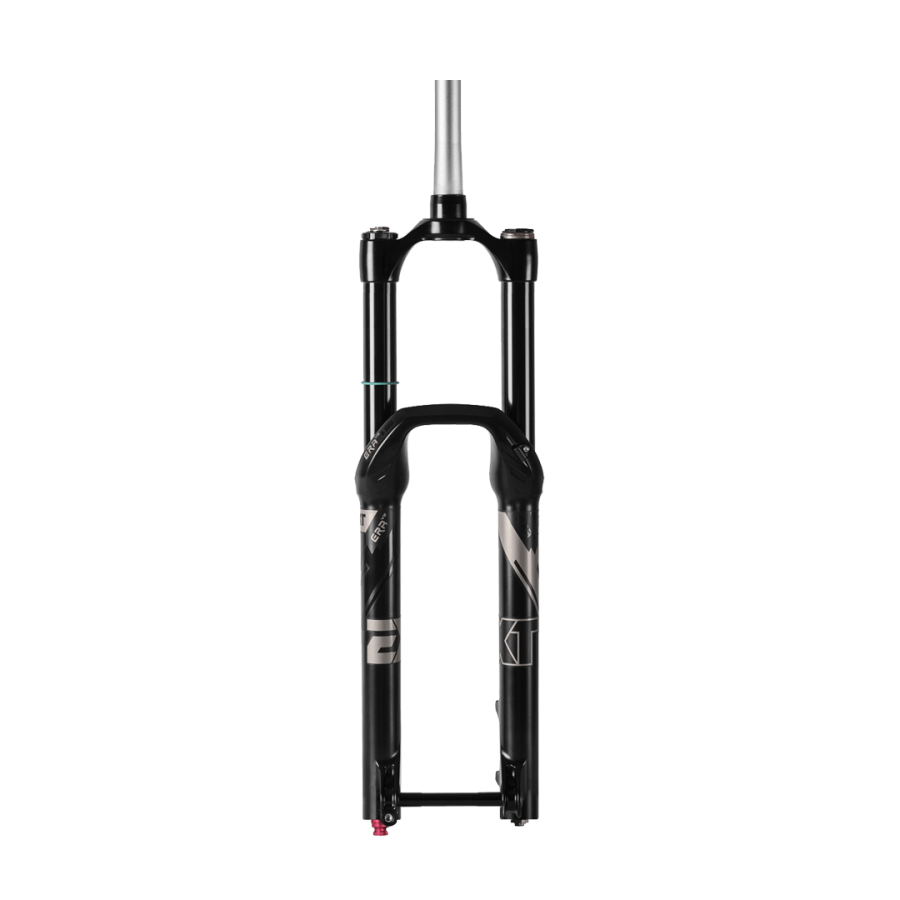
On the FERRO fork, you also have 2 air valves, one on top of the left leg/stanction, to which you can access by simply removing the air top cap and the second one on the bottom of the left leg / stanchion, to which you can access by simply removing the air bottom cap:
- + chamber air valve, placed on the top left leg is characterized by the black color and laser marked + symbol; allows to inflate the main volume of the system;
- ++ chamber air valve let you inflate the high pressure chamber and you can recognize it by its nickel color and the ++ symbol. The valve is placed on the bottom left leg.
Please follow these steps in order to setup and tune your ERA V2.1/ERA V2 LT/FERRO fork:
- Be sure that both chambers are deflated
- Set the suggested pressure into the high pressure ++ chamber, indicated by the nickel-colored air valve;
- Set the suggested pressure into the + chamber, indicated by the black colored air valve
Check the product user manual for more information!
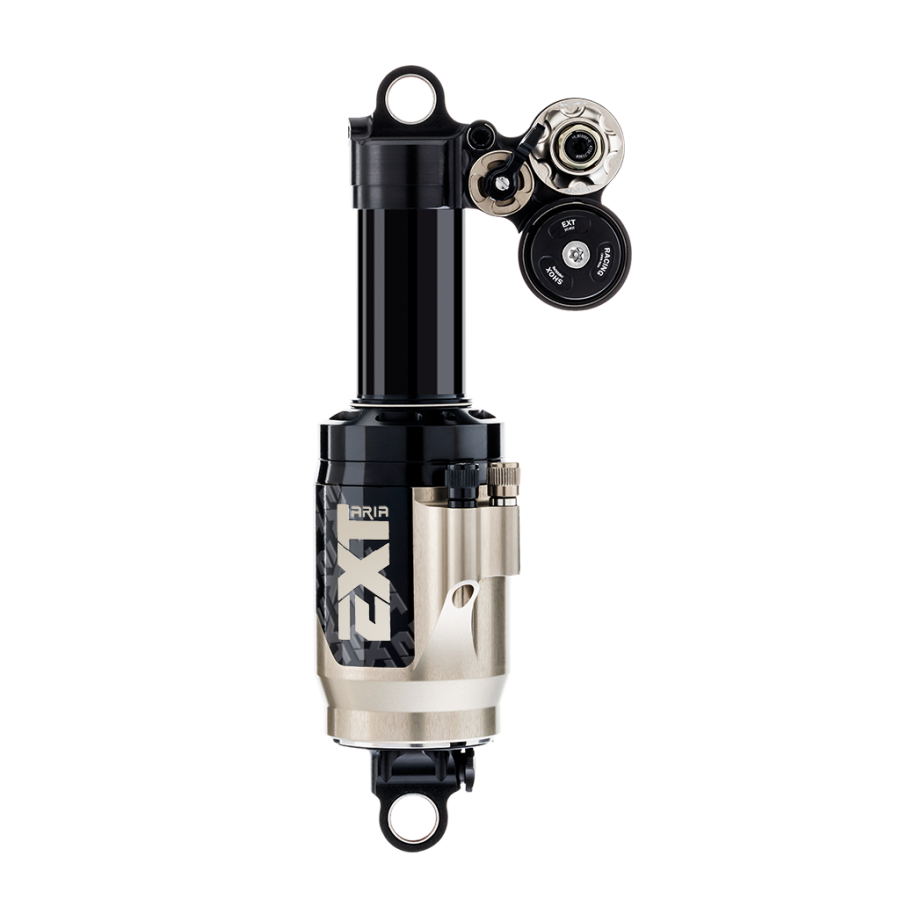
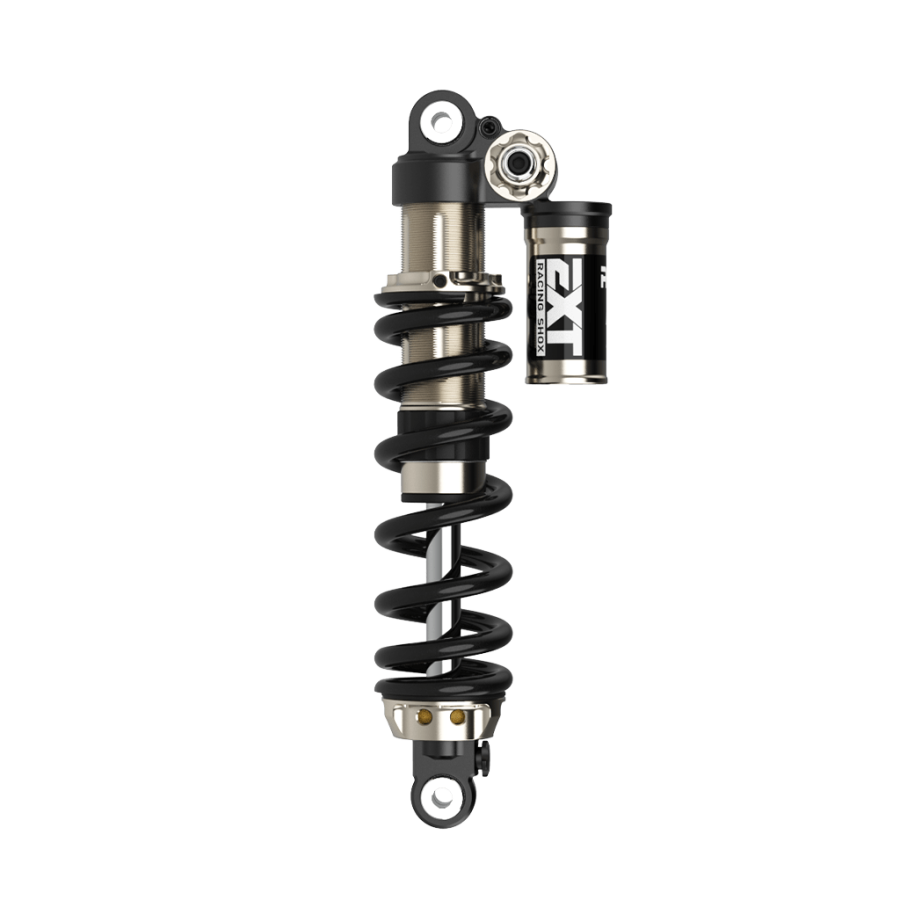
ARIA is an air shock featuring the dual positive chamber:
- + chamber air valve, characterized by the black color and laser marked + symbol allows to inflate the main volume of the system
- ++ chamber air valve let you inflate the high pressure chamber and you can recognize it by its nickel color and the ++ symbol
Check the following indications for the shock installation:
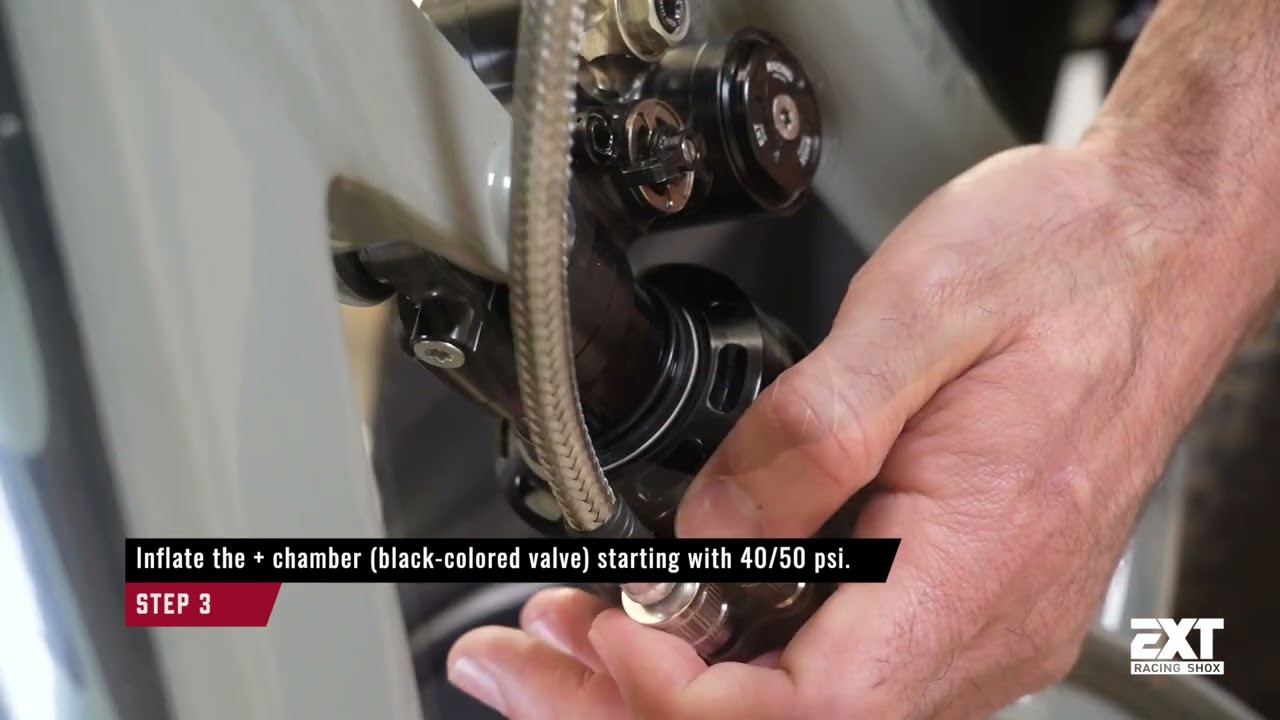
- Unscrew both air valve caps.
- Connect the EXT air pump and completely deflate the + chamber (black valve). Repeat the same process for the ++ chamber (nickel valve).
WARNING! Keep your hands away from the shock during deflation, crushing risk. Close both valve caps at the end of the operations. - Check that the low compression adjustments and LOK lever are fully open as well as the rebound adjuster.
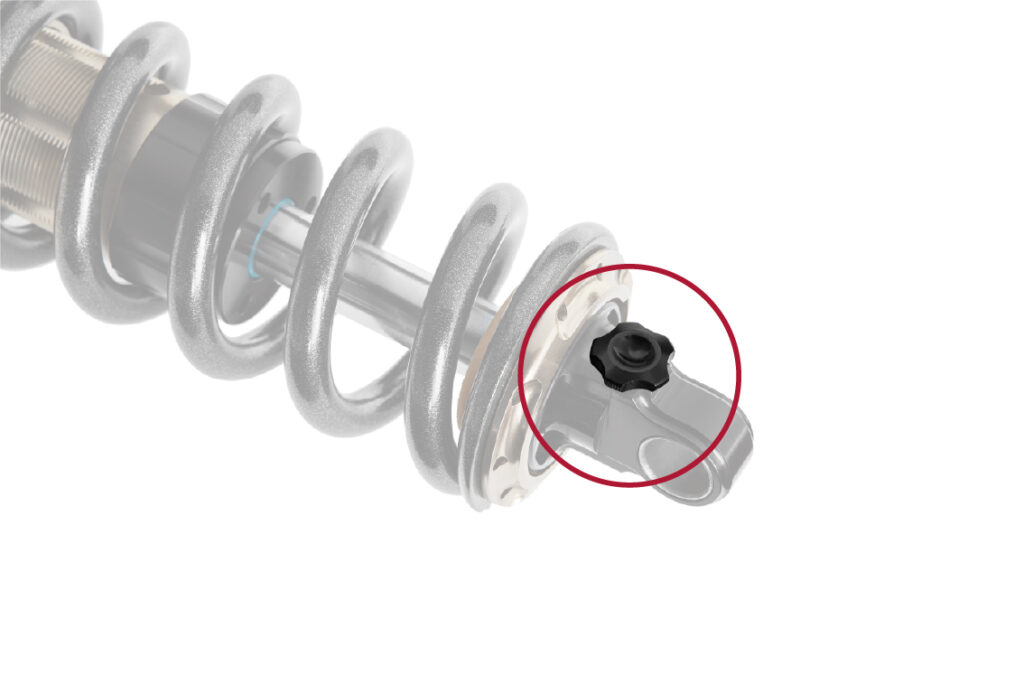
- It’s now possible to start fitting the shock on the bike. Make sure the position of the valves is included in the green area, so they won’t be aligned with tank/reservoir cup.
- Check that none of the head parts touch the frame neither in full compression and in full extension position.
- Check that the air-can and air valves don’t touch any parts of the frame either in full compression and full extension position.
In our website, we’ve developed an easy tool to help you choosing which spring suit you the best according to your weight.
Go check the spring calculator here!
SAG is the amount that your suspension settles under your own weight when you’re in the riding position. Setting sag is a key element of your setup because, if the sag isn’t properly set, it alters the bike’s ride characteristics by changing the geometry and handling not in a good way.
According to type of shock you have installed, you may have to follow a slightly different process to find out your SAG.
Follow the next steps to determine if the SAG on your bike it’s correct for your weight:
- open the LOK on your EXT shock (if available)
- set the o-ring or the plastic bumper (coil shocks) lean to the wiper (it will allow you to measure the SAG)
- get on your bike and assume your normal riding seated position (do not bounce heavily on the bike)
- carefully move your weight to the front end and get-off the bike
- measure the distance among the o-ring/plastic bumper and the wiper
That’s your SAG value, you just need to divide this value by the total shock stroke and then multiply by 100 to get the percentage of your actual SAG.
If you want to achieve the correct amount of SAG, just add or remove air from the air-spring until you reach the needed value.
SHOCK LENGTH – (STROKE X DESIRED SAG) = SHOCK SAGGED LENGTH
Ex: 230mm – (65mm x 0,3) = 210.5mm
Determining the SAG on the fork is basically the same process as seen just above for shocks.
SAG is the fork compression caused by your own weight (when you are in ready-to-ride condition). Its value is determined by the air pressure you’ll inflate. It should be in the range of 15-20% of the total fork travel.
Follow these steps to reach your fork ideal SAG:
- Inflate the fork with the suggested air pressures;
- Set the o-ring lean on the wiper;
- Get on your bike in your normal riding position;
- Get off the bike and measure the distance among the O-ring and the wiper, that’s your sag value,
- How to find the correct air pressure for your air shock/fork?
- How to find the correct spring rate for your shock?
- Set your shock sag
- set your fork sag
Check the product manual for more informations (different for ERA Fork, Aria Shock)
On top of the left leg/stanction of your ERA V2 fork you can find 2 air valves, to which you can access by simply removing the air top cap:
- + chamber air valve, characterized by the black color and laser marked + symbol allows to inflate the main volume of the system
- ++ chamber air valve let you inflate the high pressure chamber and you can recognize it by its nickel color and the ++ symbol.
Please follow these steps in order to setup and tune your fork:
- Be sure that both chambers are deflated
- Set the suggested pressure into the high pressure ++ chamber, indicated by the nickel-colored air valve;
- Set the suggested pressure into the + chamber, indicated by the black colored air valve
In our website, we’ve developed an easy tool to help you choosing which spring suit you the best according to your weight.
Go check the spring calculator here!
SAG is the amount that your suspension settles under your own weight when you’re in the riding position. Setting sag is a key element of your setup because, if the sag isn’t properly set, it alters the bike’s ride characteristics by changing the geometry and handling not in a good way.
According to type of shock you have installed, you may have to follow a slightly different process to find out your SAG.
We’re going to explain a generic method which can be applied either for air or coil EXT shocks.
To determine if the SAG on your bike it’s enough for your weight follow these easy steps:
- open the LOK on your EXT shock (if available)
- set the o-ring or the plastic bumper (coil shocks) lean to the wiper (it will allow you to measure the SAG)
- with the help of your assistant, get on your bike and assume your normal riding seated position (do not bounce heavily on the bike)
- carefully move your weight to the front and get-off the bike
- measure the distance among the o-ring/ plastic bumper and the wiper.
That’s your SAG value, you just need to divide this value by the total shock stroke and then multiply by 100 to get the percentage of your actual SAG.
If you want to achieve the correct amount of SAG, just add or remove air from the air-spring until you reach the needed value.
SHOCK LENGTH – (STROKE X DESIRED SAG) = SHOCK SAGGED LENGTH
Ex: 200mm – (57mm x 0,3) = 183mm
Determine the SAG on a fork is basically the same process as seen just above for shocks.
SAG is the fork compression caused by your own weight (when you are in ready-to-ride condition). Its value is determined by the air pressure you’ll inflate. It should be in the range of 15-20% of the total fork travel.
Follow these steps to reach your SAG in as few passages as possible:
- Inflate the fork with the suggested air pressures;
- Set the o-ring lean on the wiper;
- Get on your bike in your normal riding position;
- Get off the bike and measure the distance among the O-ring and the wiper, that’s your sag value,
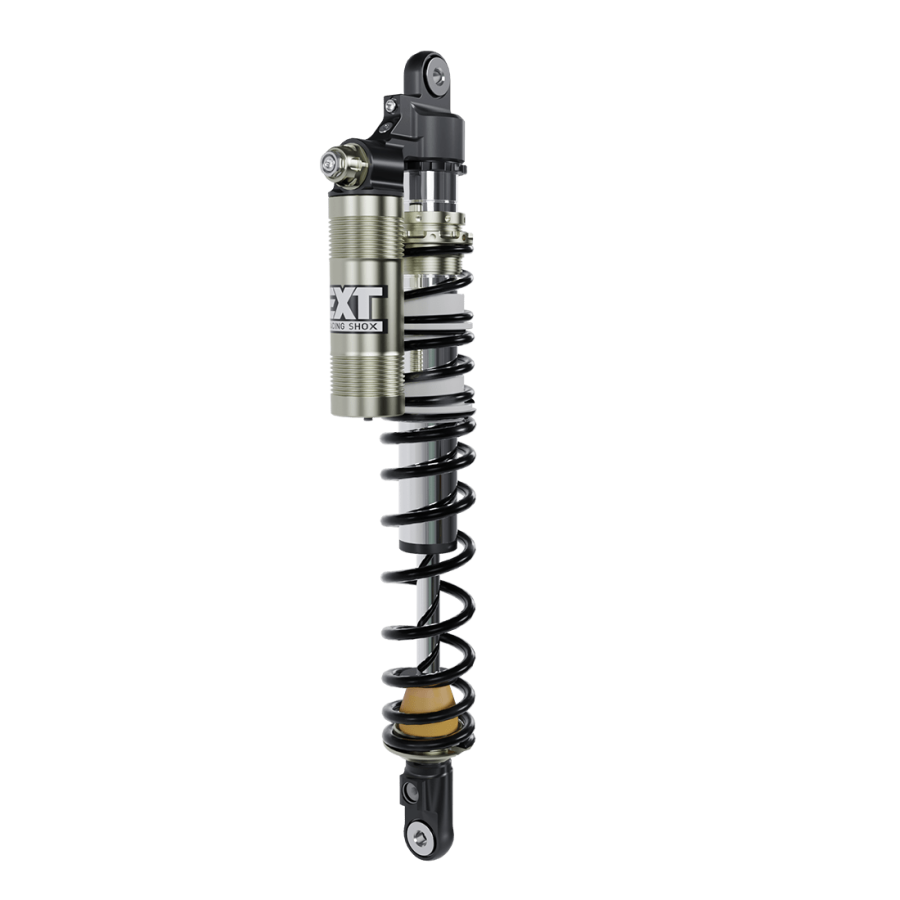
Shock Adjustments
Damping tuning can be sometimes a mine field. Where to start? Trail surfaces change continuously, wet or dry, steep or flat and the list can go on. Taking notes of the setup you’re riding on a well-known trail will help you to understand how the adjustments affect your feeling and your performance. Keep in mind that focusing on a single adjustment at a time will make your life easier in understanding your bike.
This is responsible for you feeling of control while riding but also for your comfort giving the bike the ability to glue wheels to the ground. Start by having a controlled rebound feeling and move from this point until you find the correct setup. You should feel your bike like it sticks to the ground, goes through corners consistently by not getting pushed out of it. Keep in mind that if the rebound is too fast your ride could be uncomfortable and nervous, if it’s too slow your fork will not have enough time to recover the full stroke through the bumps. Start with the suggested setup and then move following your preference and riding style.
High speed compression helps your bike to skip across obstacles before it is transmitted to you. A high-speed compression event is characterized by a high shaft velocity impact (i.e high speed hitting rocks, roots, braking bumps, flat landing). At lower bike speed, HSC is involved in square edges bumps hitting. Start with the suggested setup and then move to get more grip or more control depending on track condition and surface.
Low speed compression manages all changes of the bike stance due to weight translation where low shaft velocity is involved (i.e berms, compressions, g-outs, pedaling) totally independent from how slow or fast the wheels are moving You can obtain a very consistent grip and feedback when you find the correct setup. Start with the suggested setup and move towards a faster, more comfortable or more stable bike.
fORK Adjustments
On the ERA V2.1 fork we can find the same adjustabilty as the shock but the adjustments are located in a different position. Here a quick guide on how to recognize them! Your fork has 3 damping adjustments on the right leg:

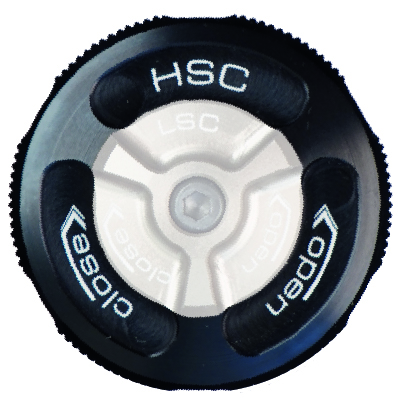
High speed compression also located on top, is the bigger knob, black colored and is placed below the low speed compression dial.
Remember, maximum clockwise = full closed = maximum force for all the adjusters. We consider full closed position as click 0.
To adjust follow these directions:
- Turn the knob adjuster completely clockwise (ZERO POSITION)
- Start to turn counterclockwise until you find the correct setup.
Every different position is signaled by a click.
will it fit on my bike?
Welcome to the section dedicated to checking the compatibility of our shock absorbers with the most common mountain bike frames on the market. The database is populated with data from the fitting experiences of our distributors and dealers.
The list is constantly updated with new entries; we suggest checking it periodically!
If you don't find your bike in the list, it doesn't mean it's not compatible: the second column of the table specifies whether the installation was successful or not. These data should only be taken as an indication and do not represent 100% verified information. It's recommended to verify compatibility by contacting your trusted dealer.
F.A.Q.
Modern bike frames can be very different on shock clearance and this is a very critical point during the choice of a new shock for your bike.
EXT suspension are specifically developed to be fitted on the most common bike geometry allowing you to choose more easily and without waste of time.
Together with the help of our network of distributors/dealers, we’ve been working on a digital tool that it will make easier the choice of the shock according to the bike.
Click here, for the shock fitting list!
If you any questions or concern on the safe installation of any EXT shocks on your bike, just get in touch with your local distributor which will be able to provide support on the shock fitment.
It’s mandatory to install the EXT Hardware Kit on all the EXT shocks.
This will guarantee a perfect installation of the shock on the bike without damages on the structural parts of the shock.
Different sizes for the hardware kit will be needed depending on your bike frame. On our Product Form Application, we always give the opportunity to choose the hardware requested for your bike so we can include them together with the shock purchase! For further informations and recommendations make sure to ask to your local EXT dealer or contact us by email!
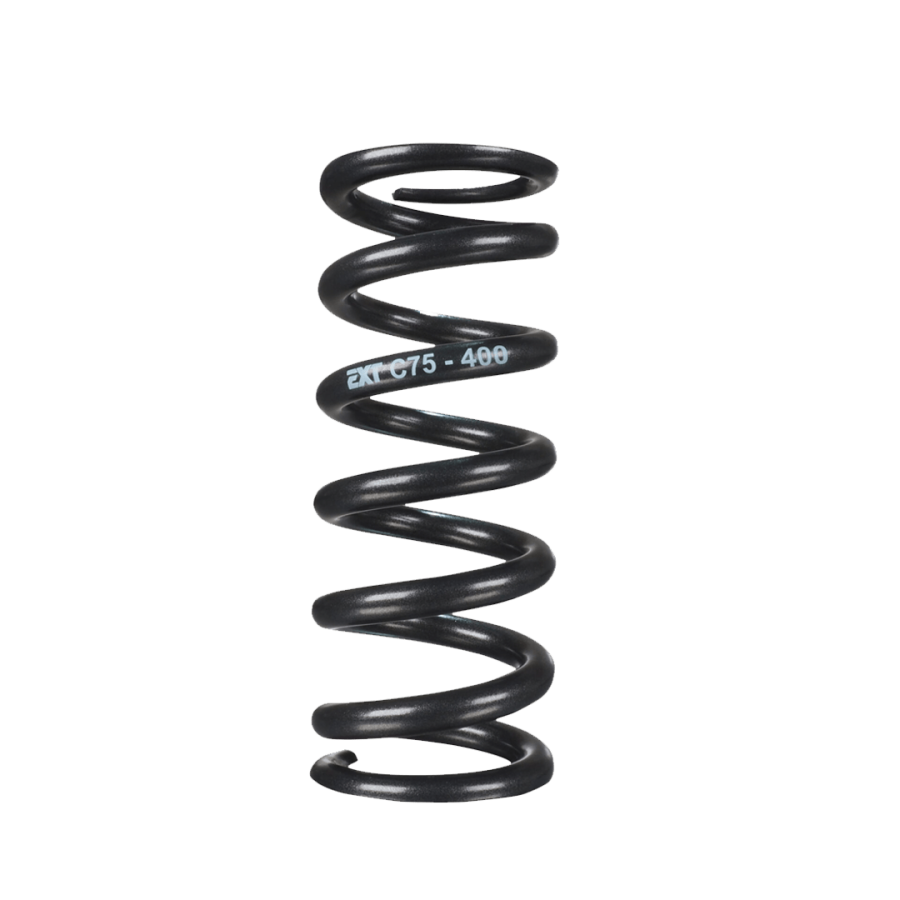
Our proprietary spacers allow the springs to fit on any shocks on the market plus the ability to switch the spring to another bike from enduro to DH bike. Unfortunately, it’s not possible to install on EXT shocks different branded springs. We hardly recommend installing the correct EXT Superlight V2 Spring to achieve the best riding performance.
EXT Superlight V2 Springs are carefully calculated to the minimum length for the stroke required, this means that your spring will totally cover the shock stroke, but will also have a lighter weight.
EXT Springs are developed for a long time use, thanks to improved mechanical characteristics and its material directly derived from motorsport.
We offer a rate increase by 25lb to fine tune your bike.
EXT Superlight V2 Springs do not need any preload (maximum 2mm preload) allowing you the best coil shock feeling.
If you’ve just purchased one of our products and you would like to install it by yourself check the installation video or the user manuals available for free on our website.
The improper installation of the product may result on a extremely dangerous situation.
We highly recommended the product installation by a qualified bike mechanic.
Looking to buy a new bike with different shock size but you don’t want to leave apart your EXT shock?
No worries, EXT got you sorted!
Get in touch with your local service point that will be able to convert the shock to the new stroke/length size. Spare parts price and labor quotation cost may differ depending on the case.
Yes, also Era forks have the possibility to swap the travel between the 130mm and 170mm.
However, this operation must be carried out by an EXT authorized service point.
The two sizes needed to start looking for your new EXT shock are the total shock length and the stroke length.
Shocks can be subdivied into two types:
- Standard (Eye to Eye)
- Trunnion
The total length of your shock is the measure from the center of each mounting bolt hole, also known as the eyelet.
The shock stroke measures the total distance the shock compresses from fully extended to fully compressed.
Both measures are always available on the specs of your bike, because they are unique and specific for the model and the geometry.
Can’t find them?
Ask for help to your local EXT dealer, it will help you to determine which shock fits better on your bike.
To preserve maximum performance of your EXT suspension you must follow accurately these indications:
- Before every ride check your shock/fork visually
- Inspect shaft/stanchions and be sure of any possible leaks
- Check bump stop condition
- Check and inspect shock DU bushings every 15 hours riding and replace if necessary
- Check the fork dust wipers every 15 hours of riding
- Clean your shock/fork well after the ride and don’t wash with high pressure jet wash. Dry out all the parts avoiding the making of rust/oxidation
EXT products must only be serviced by an authorized EXT Service point or directly from the Official EXT Distributor of your country.
However, it’s now possible to perform the complete lower legs service of your fork independently.
All the instructions and the list of materials needed are included in a dedicated manual that you can download from our website on the Era V2.1/Era V2 LT product page or by clicking here!
The lower legs service is recommended every 25 hours of use in racing conditions or 50 hours of use in not racing conditions.
Looking to get a custom tune for your new EXT shock and fork to perfectly match your riding style and bike geometry?
Send a request to your closest EXT dealer point or directly to your national distributor at the moment of purchase; we can customize your suspension by looking to a complete list of tune specifically developed for very different applications and needs.
Suspension tune customization may result on a difference for the final price.
For any more info, get in touch with your local dealer/EXT distributor.
FORK LOWER LEGS (RACE CONDITIONS):
The lower legs service is recommended every 25 hours of use
FORK LOWER LEGS (NOT RACE CONDITIONS):
The lower legs service is recommended every 50 hours of use
SHOCK & FORK (RACE CONDITIONS):
We suggest a complete service after 50 hours riding or 6 months ensuring maximum performance!
SHOCK & FORK (NOT RACE CONDITIONS):
We suggest a complete service after 100 hours riding or 1 year of use.
For further information, check the dedicated user manual for each product!
EXT guarantees their damper systems are free from origin defects for the period of two (2) years from date of purchase.
In case of a warranty claim, the customer can return the product to an authorized EXT distributor/dealer/service point, showing the requested proof of purchase within 2 years period of warranty cover, and specifying the nature of the suspension failure and warranty claim.
Do you need to open a warranty claim for an EXT product?
Get in touch with your local EXT authorized point by checking this link!
For further information, visit our Warranty Policy page.
EXT products are available throughout our worldwide sales network of dealers regulated by the national EXT distributor.
Click here for a closer look on our dealer locator to find out your closest EXT point!
We are always very happy to receive new application and interest to collaborate with the EXT brand.
Please, feel free to reach out to the official EXT Distributor of your country who will be able to guide on the next steps to became an official EXT point.
You can find here all the EXT Distributor contact info!
vidEO GUIDES
EXT Media Gallery
MANUALS
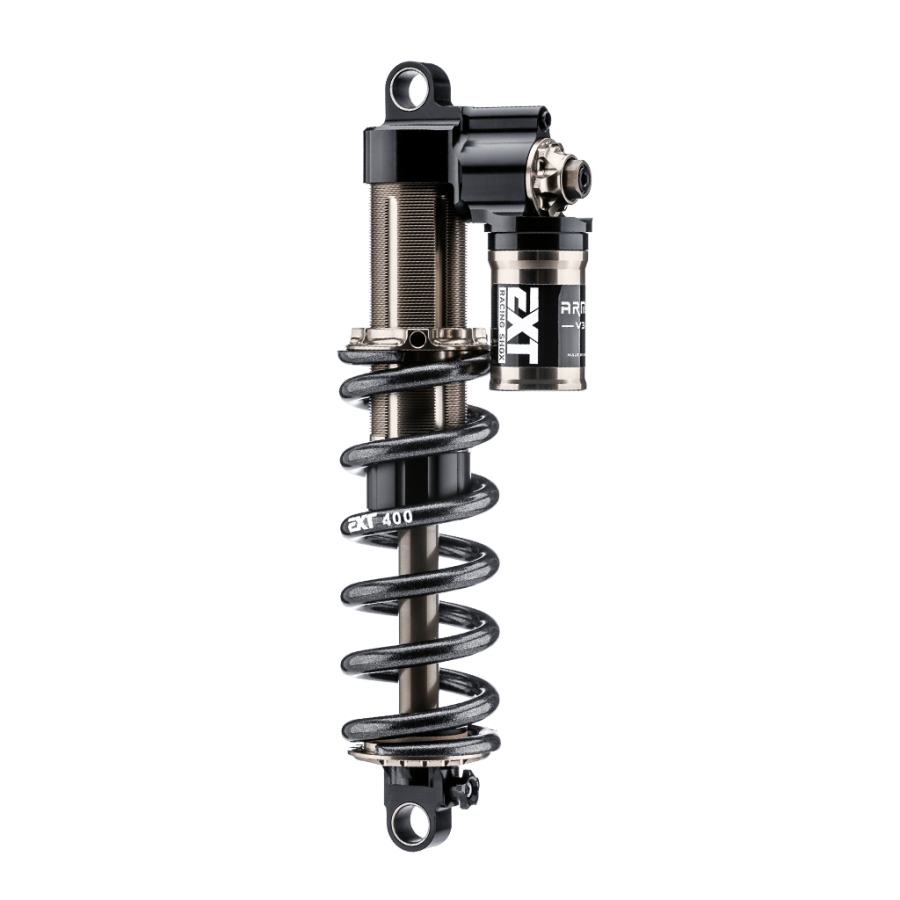
ARMA V3
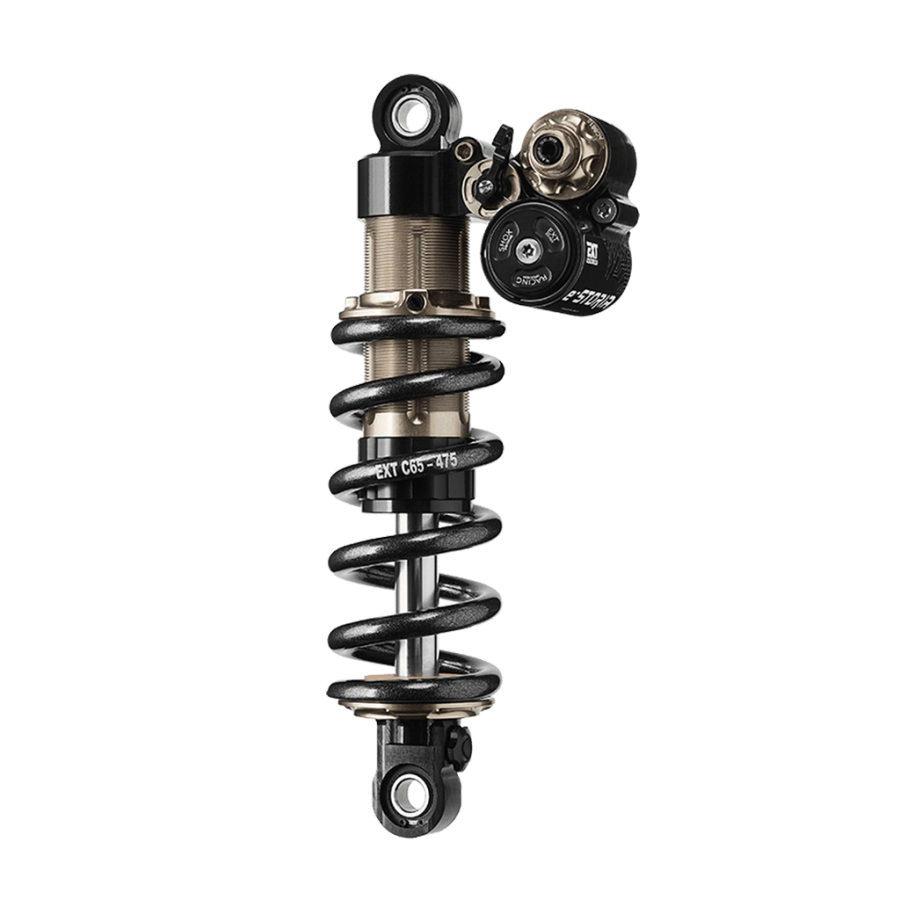
storia v3
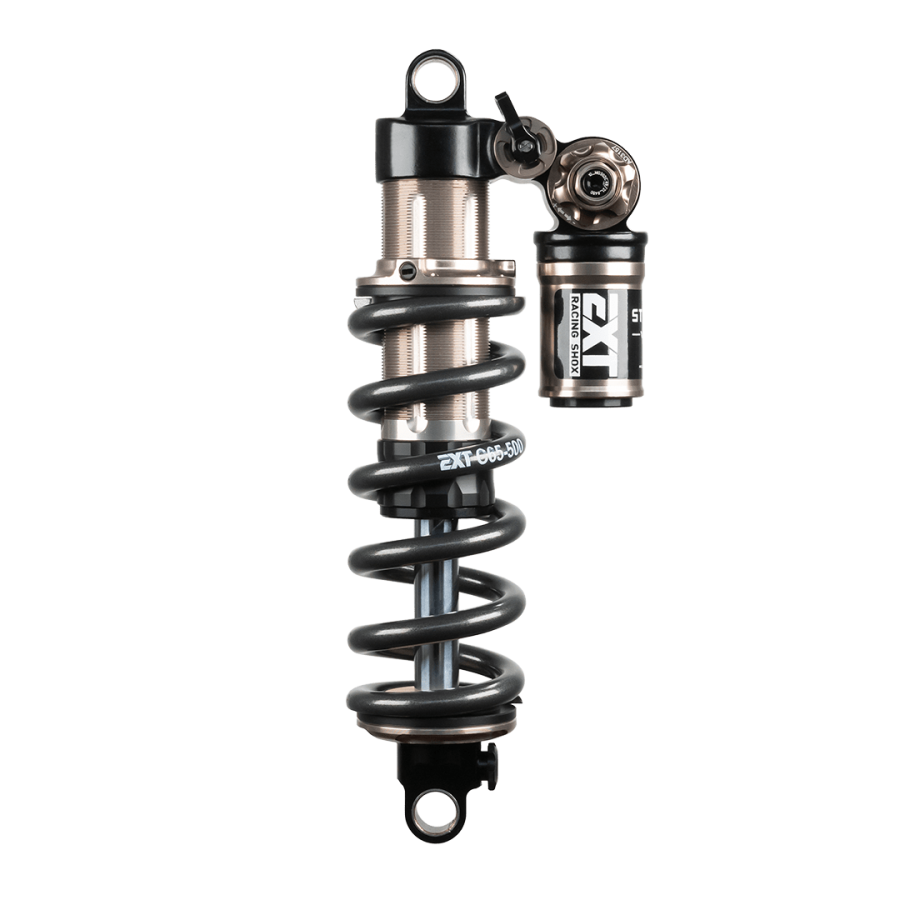
storia v3S
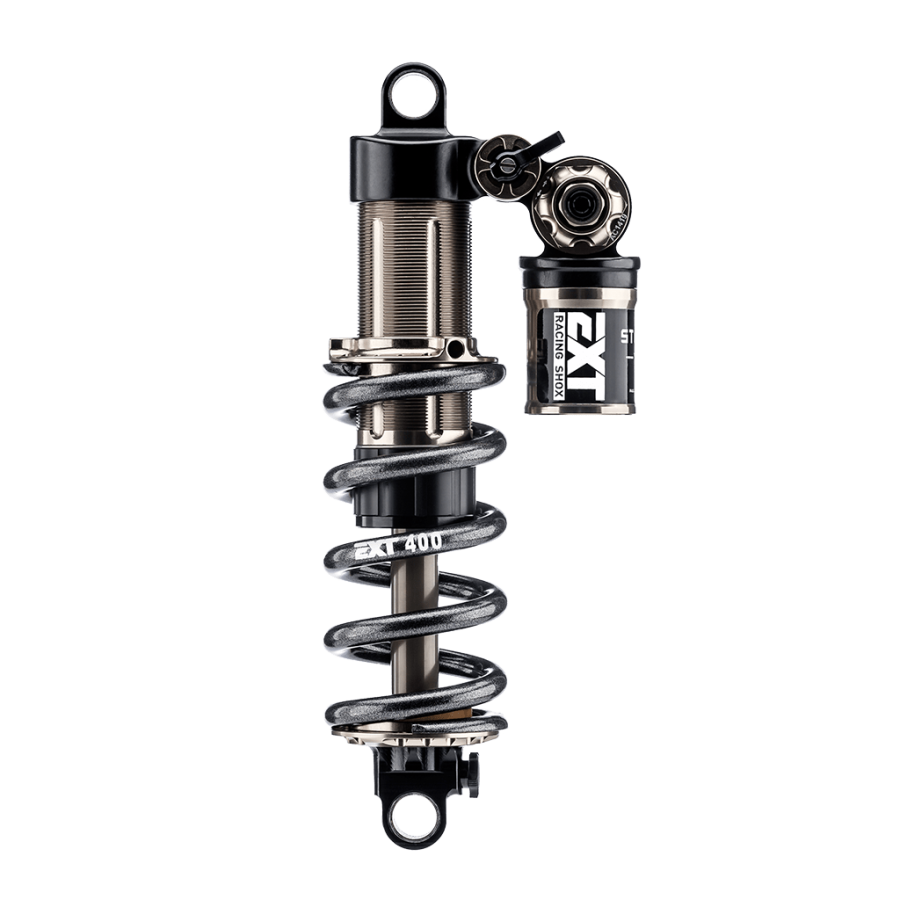
e-storia
aria
era v2.1
era v2 LT
arma-mx
- Quick Manual
- User Manual
- Video Installation Guide