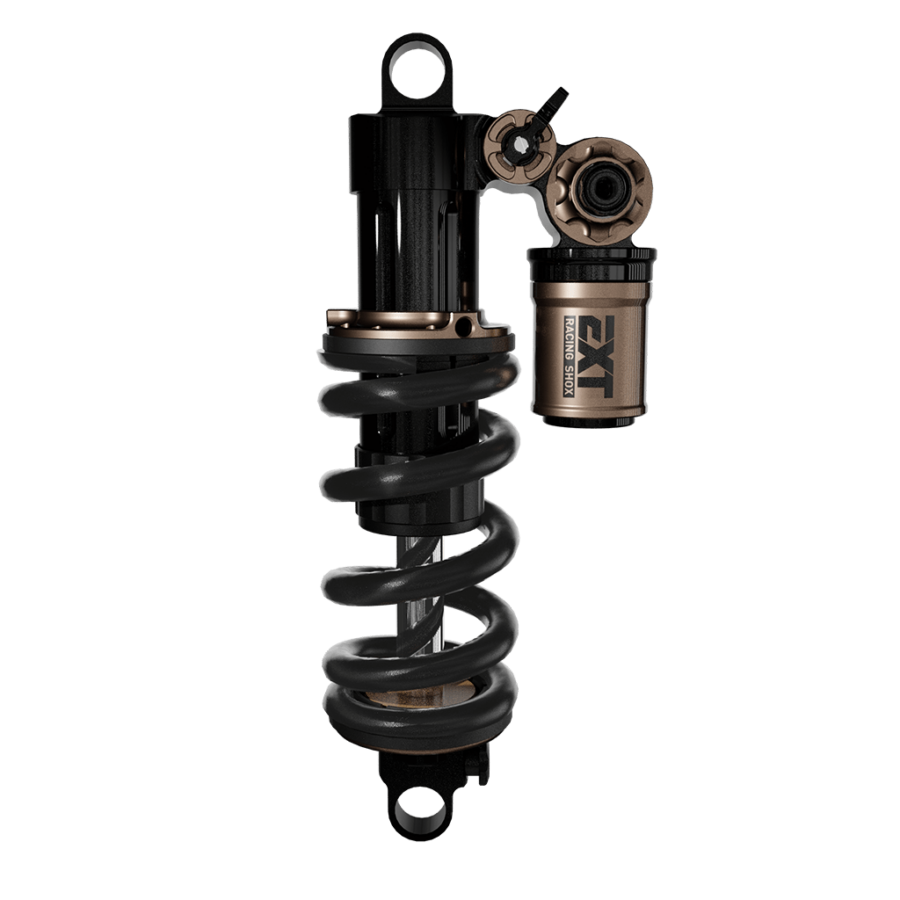


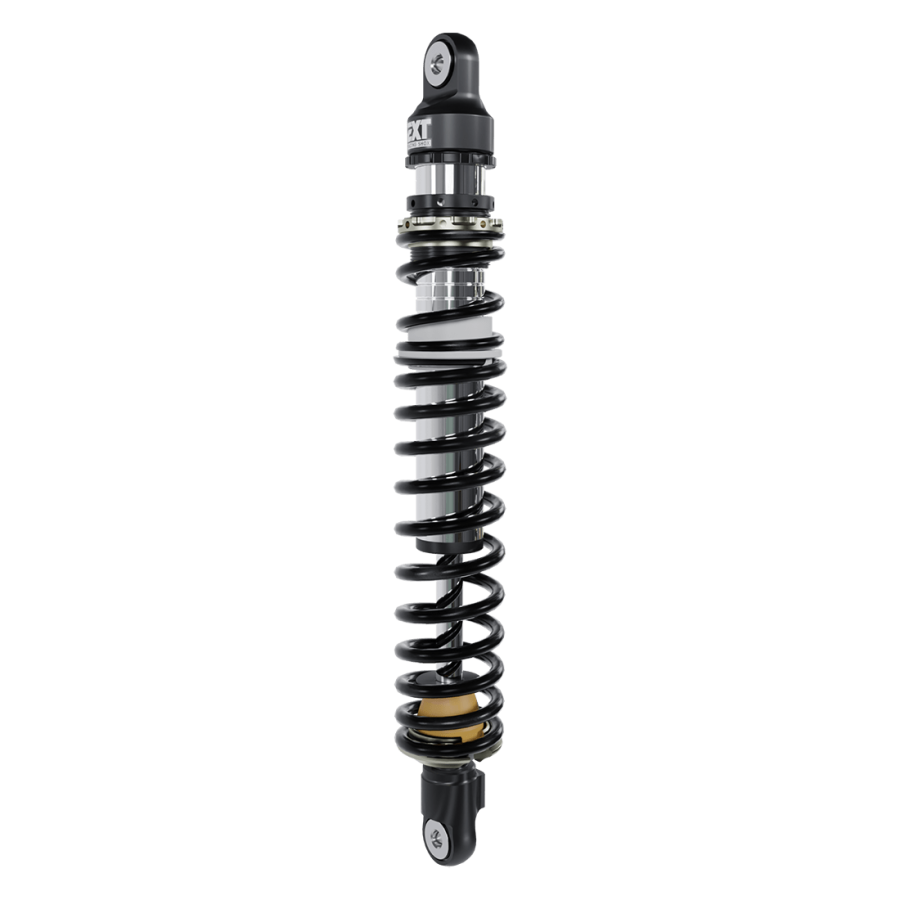
![Tech 3R [Quad]](https://extremeshox.com/wp-content/uploads/2023/09/tech-3r-product-picture-min-900x900.png)


how to setup your ext suspension
If you’ve just purchased one of our products, you will need to start setting up the suspensions on your bike. It’s very important to customize the adjustments according to your weight and riding style, in order to maximize the performance on your bike. We’re going to start with an essential MTB suspensions guide, where we want to explain you the main concept, functionality and adjustability of our products. Spending a couple of minutes understanding how to adjust your suspension will transform your riding experience.
- How to inflate your EXT fork?
- How to inflate your EXT air shock?
- How to find the correct spring rate for your shock?
- Set your shock sag
- Set your fork sag
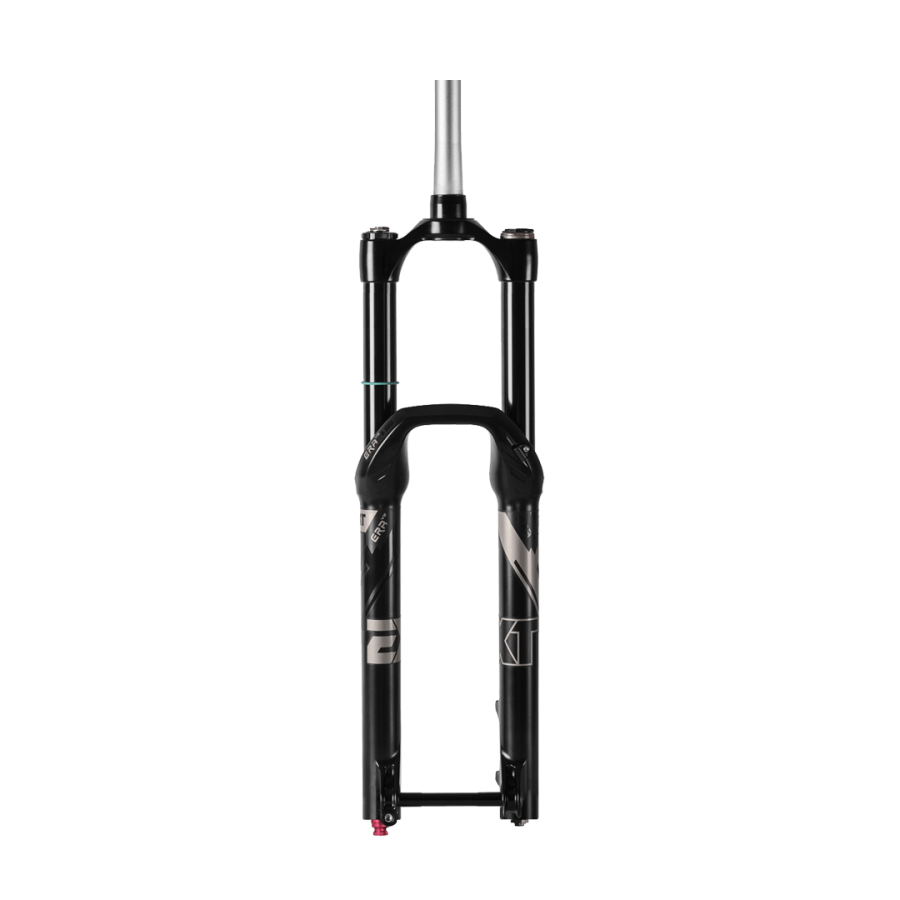
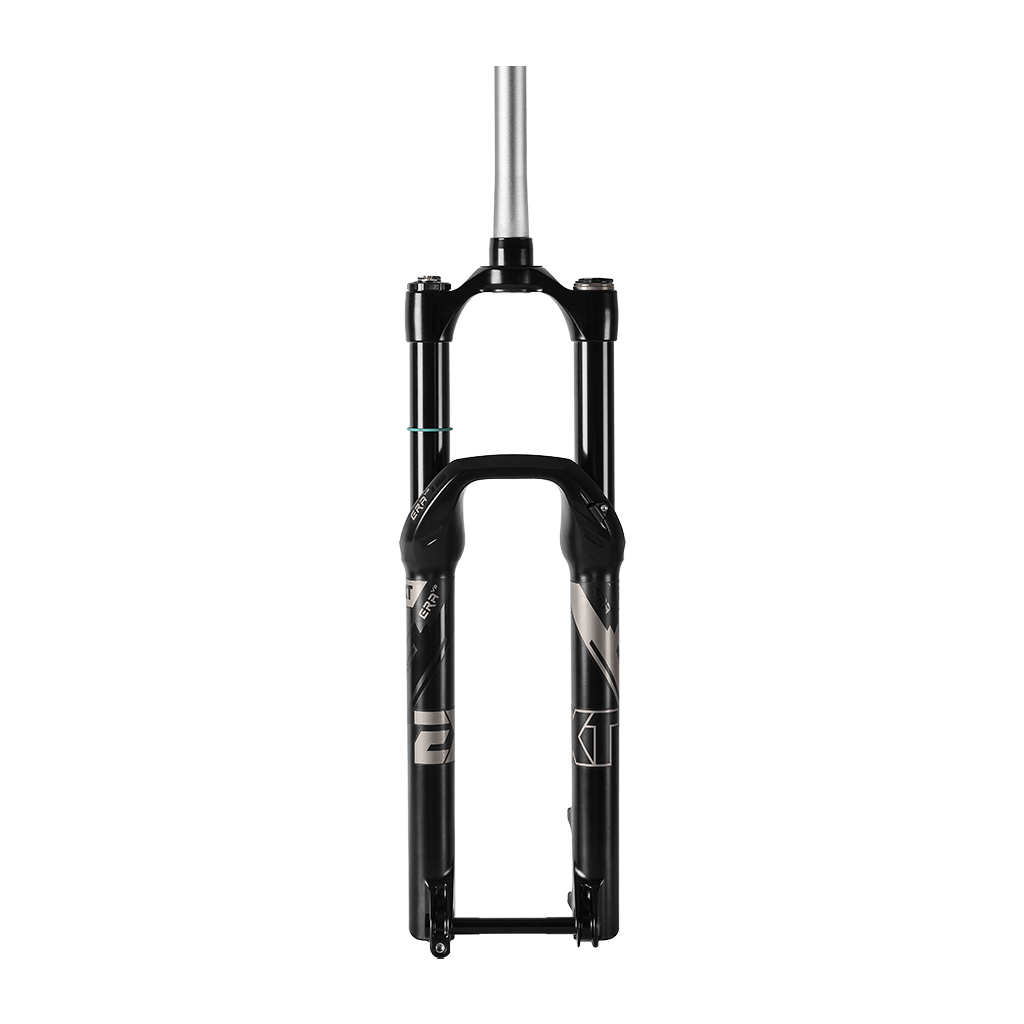
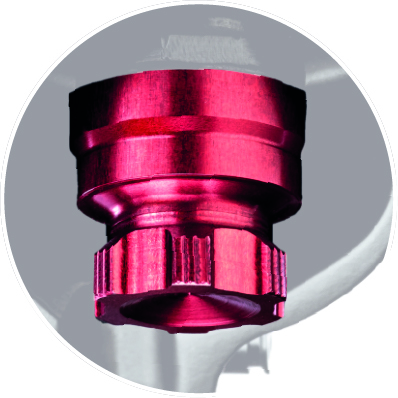
On top of the left leg/stanction of your ERA V2.1/ERA V2 LT fork you can find 2 air valves, to which you can access by simply removing the air top cap:
- + chamber air valve, characterized by the black color and laser marked + symbol allows to inflate the main volume of the system
- ++ chamber air valve let you inflate the high pressure chamber and you can recognize it by its nickel color and the ++ symbol.
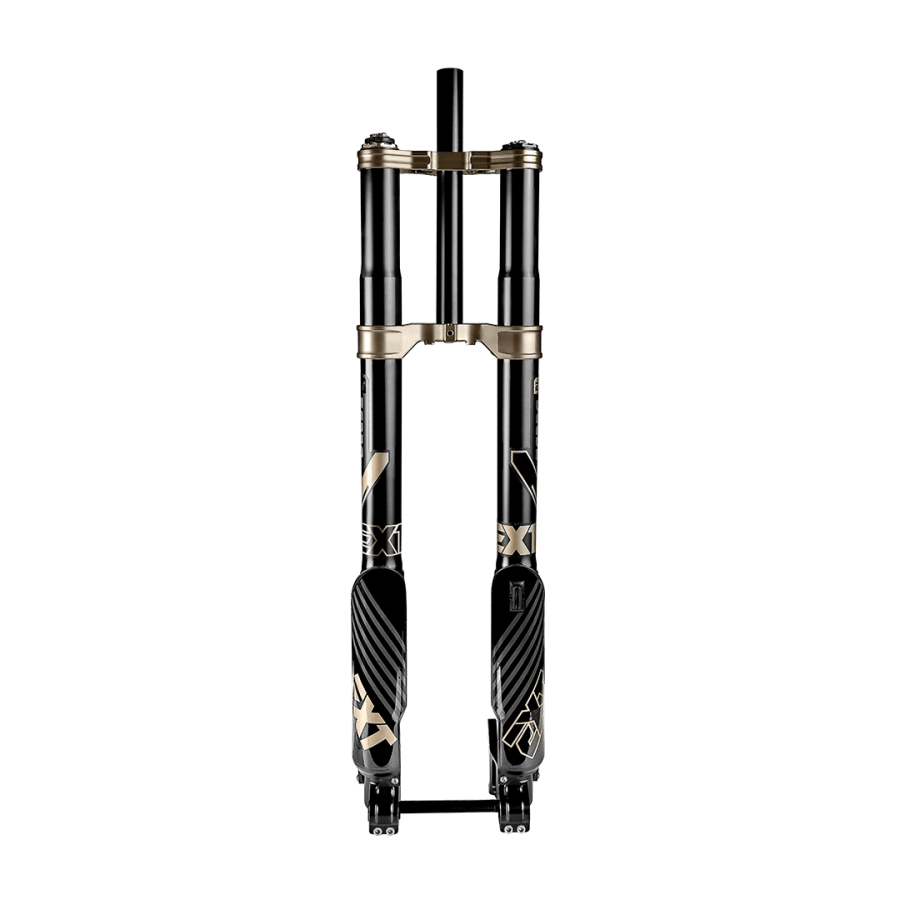
On the FERRO fork, you also have 2 air valves, one on top of the left leg/stanction, to which you can access by simply removing the air top cap and the second one on the bottom of the left leg / stanchion, to which you can access by simply removing the air bottom cap:
- + chamber air valve, placed on the top left leg is characterized by the black color and laser marked + symbol; allows to inflate the main volume of the system;
- ++ chamber air valve let you inflate the high pressure chamber and you can recognize it by its nickel color and the ++ symbol. The valve is placed on the bottom left leg.
Please follow these steps in order to setup and tune your ERA V2.1/ERA V2 LT/FERRO fork:
- Be sure that both chambers are deflated
- Set the suggested pressure into the high pressure ++ chamber, indicated by the nickel-colored air valve;
- Set the suggested pressure into the + chamber, indicated by the black colored air valve
Check the product user manual for more information!
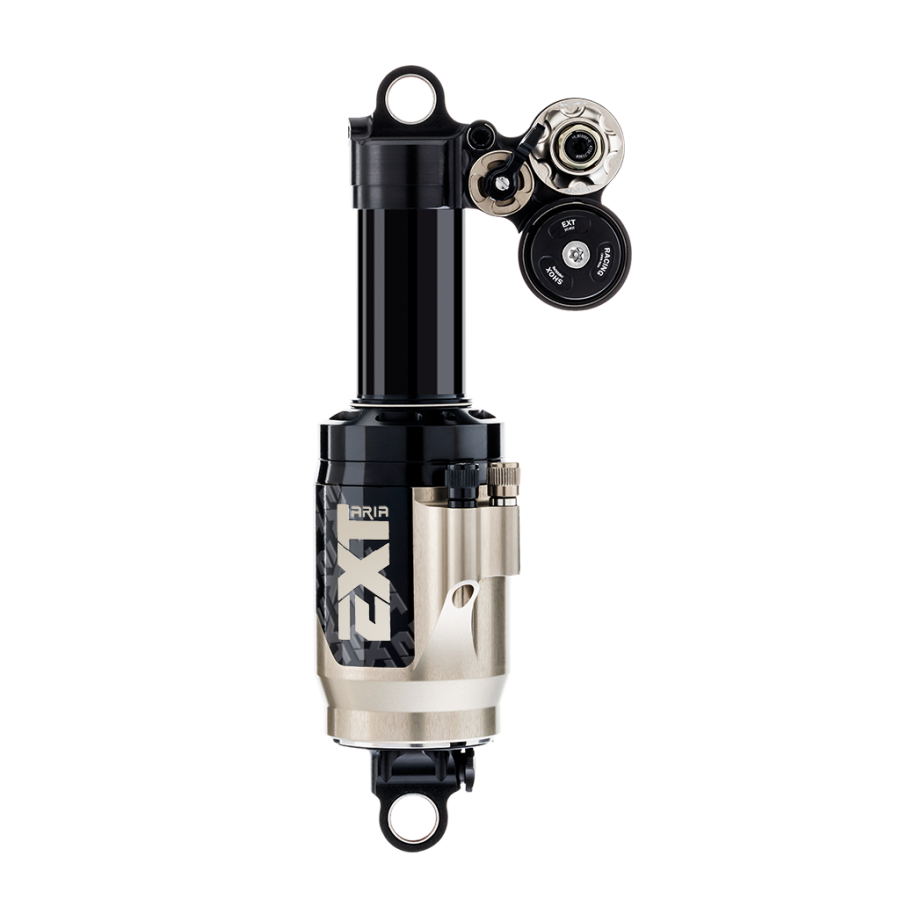
ARIA is an air shock featuring the dual positive chamber:
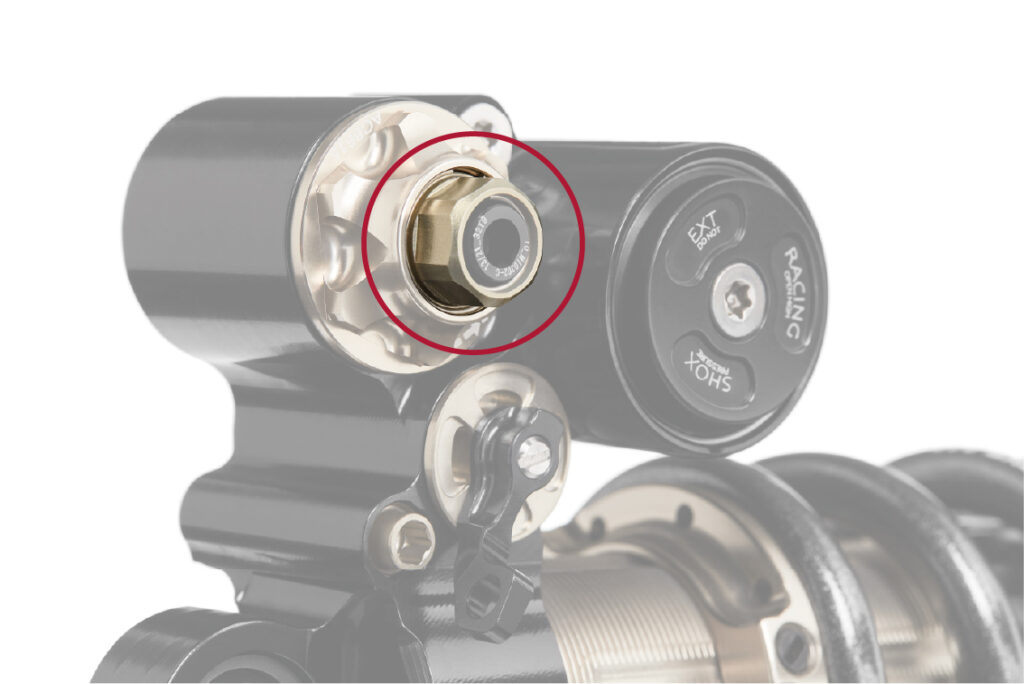
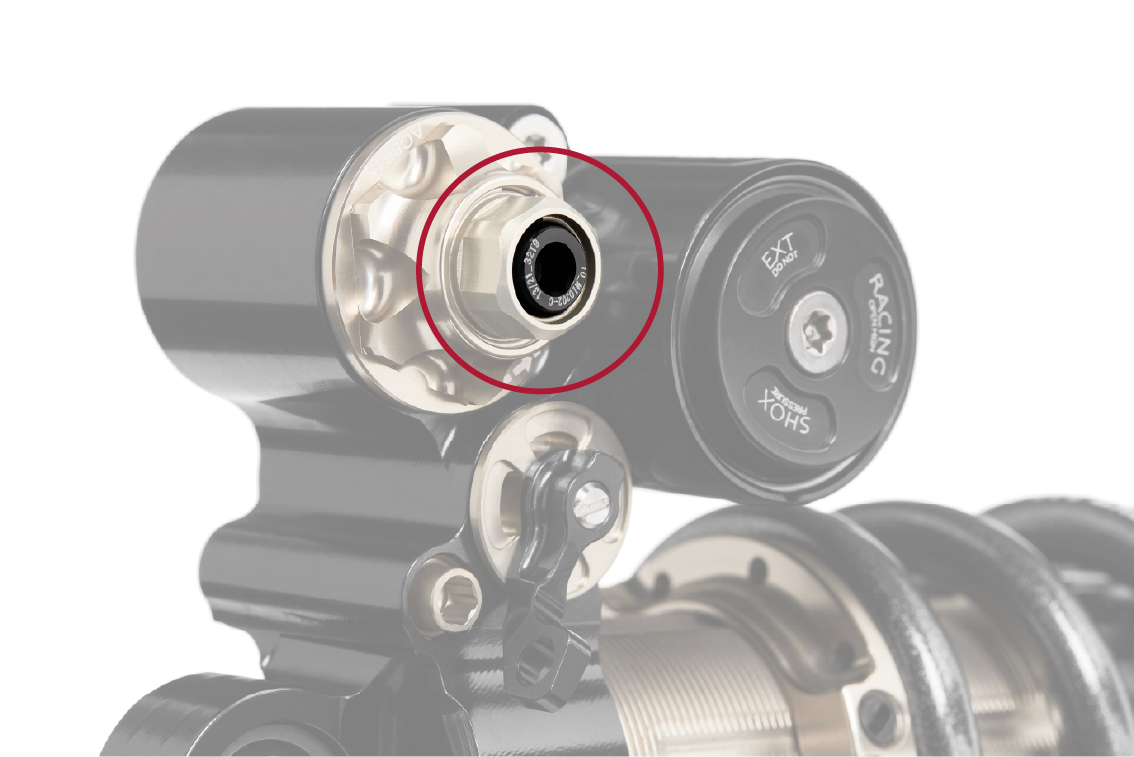
- + chamber air valve, characterized by the black color and laser marked + symbol allows to inflate the main volume of the system
- ++ chamber air valve let you inflate the high pressure chamber and you can recognize it by its nickel color and the ++ symbol
Check the following indications for the shock installation:
- Unscrew both air valve caps.
- Connect the EXT air pump and completely deflate the + chamber (black valve). Repeat the same process for the ++ chamber (nickel valve).
WARNING! Keep your hands away from the shock during deflation, crushing risk. Close both valve caps at the end of the operations. - Check that the low compression adjustments and LOK lever are fully open as well as the rebound adjuster.
- It’s now possible to start fitting the shock on the bike. Make sure the position of the valves is included in the green area, so they won’t be aligned with tank/reservoir cup.
- Check that none of the head parts touch the frame neither in full compression and in full extension position.
- Check that the air-can and air valves don’t touch any parts of the frame either in full compression and full extension position.
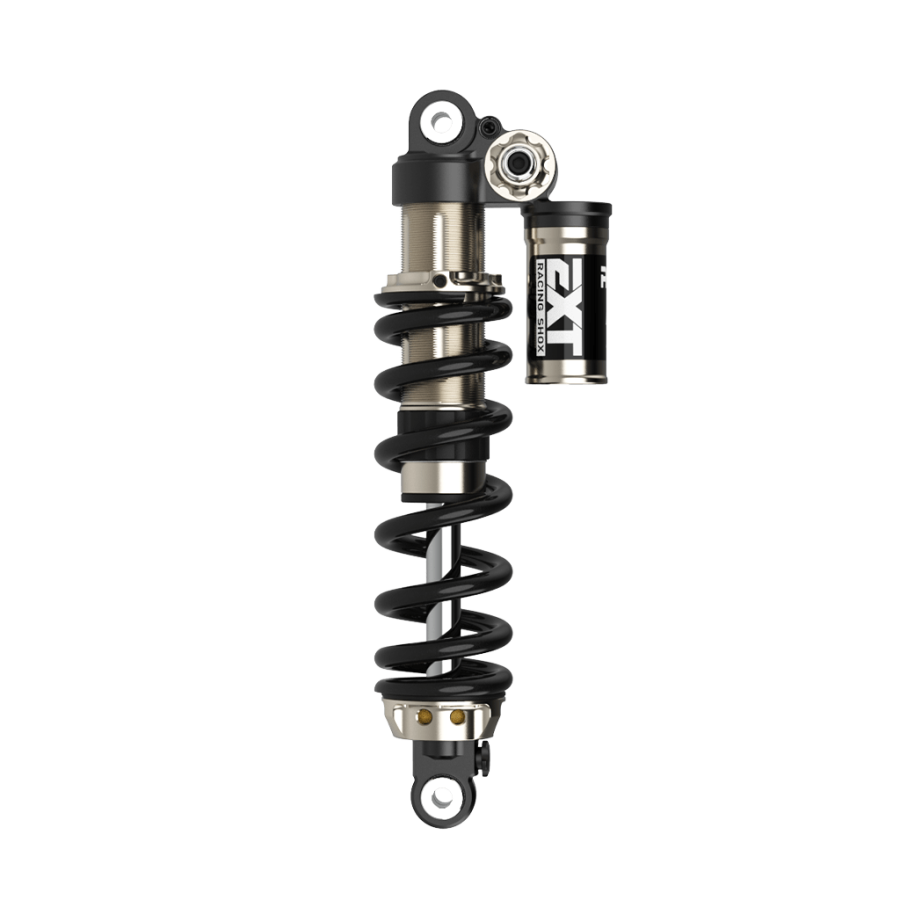
In our website, we’ve developed an easy tool to help you choosing which spring suit you the best according to your weight.
Go check the spring calculator here!
SAG is the amount that your suspension settles under your own weight when you’re in the riding position. Setting sag is a key element of your setup because, if the sag isn’t properly set, it alters the bike’s ride characteristics by changing the geometry and handling not in a good way.
According to type of shock you have installed, you may have to follow a slightly different process to find out your SAG.
Follow the next steps to determine if the SAG on your bike it’s correct for your weight:
- open the LOK on your EXT shock (if available)
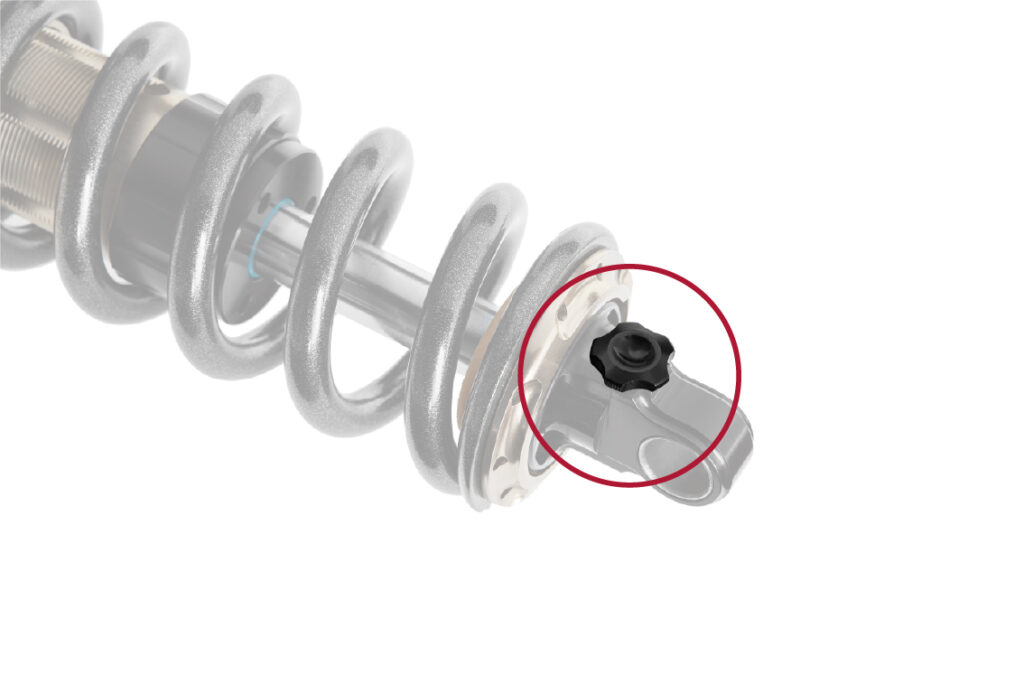
- set the o-ring or the plastic bumper (coil shocks) lean to the wiper (it will allow you to measure the SAG)
- get on your bike and assume your normal riding seated position (do not bounce heavily on the bike)
- carefully move your weight to the front end and get-off the bike
- measure the distance among the o-ring/plastic bumper and the wiper
That’s your SAG value, you just need to divide this value by the total shock stroke and then multiply by 100 to get the percentage of your actual SAG.
If you want to achieve the correct amount of SAG, just add or remove air from the air-spring until you reach the needed value.
SHOCK LENGTH – (STROKE X DESIRED SAG) = SHOCK SAGGED LENGTH
Ex: 230mm – (65mm x 0,3) = 210.5mm
Determining the SAG on the fork is basically the same process as seen just above for shocks.
SAG is the fork compression caused by your own weight (when you are in ready-to-ride condition). Its value is determined by the air pressure you’ll inflate. It should be in the range of 15-20% of the total fork travel.
Follow these steps to reach your fork ideal SAG:
- Inflate the fork with the suggested air pressures;
- Set the o-ring lean on the wiper;
- Get on your bike in your normal riding position;
- Get off the bike and measure the distance among the O-ring and the wiper, that’s your sag value,
- How to find the correct air pressure for your air shock/fork?
- How to find the correct spring rate for your shock?
- Set your shock sag
- set your fork sag
Check the product manual for more informations (different for ERA Fork, Aria Shock)
On top of the left leg/stanction of your ERA V2 fork you can find 2 air valves, to which you can access by simply removing the air top cap:
- + chamber air valve, characterized by the black color and laser marked + symbol allows to inflate the main volume of the system
- ++ chamber air valve let you inflate the high pressure chamber and you can recognize it by its nickel color and the ++ symbol.
Please follow these steps in order to setup and tune your fork:
- Be sure that both chambers are deflated
- Set the suggested pressure into the high pressure ++ chamber, indicated by the nickel-colored air valve;
- Set the suggested pressure into the + chamber, indicated by the black colored air valve
In our website, we’ve developed an easy tool to help you choosing which spring suit you the best according to your weight.
Go check the spring calculator here!
SAG is the amount that your suspension settles under your own weight when you’re in the riding position. Setting sag is a key element of your setup because, if the sag isn’t properly set, it alters the bike’s ride characteristics by changing the geometry and handling not in a good way.
According to type of shock you have installed, you may have to follow a slightly different process to find out your SAG.
We’re going to explain a generic method which can be applied either for air or coil EXT shocks.
To determine if the SAG on your bike it’s enough for your weight follow these easy steps:
- open the LOK on your EXT shock (if available)
- set the o-ring or the plastic bumper (coil shocks) lean to the wiper (it will allow you to measure the SAG)
- with the help of your assistant, get on your bike and assume your normal riding seated position (do not bounce heavily on the bike)
- carefully move your weight to the front and get-off the bike
- measure the distance among the o-ring/ plastic bumper and the wiper.
That’s your SAG value, you just need to divide this value by the total shock stroke and then multiply by 100 to get the percentage of your actual SAG.
If you want to achieve the correct amount of SAG, just add or remove air from the air-spring until you reach the needed value.
SHOCK LENGTH – (STROKE X DESIRED SAG) = SHOCK SAGGED LENGTH
Ex: 200mm – (57mm x 0,3) = 183mm
Determine the SAG on a fork is basically the same process as seen just above for shocks.
SAG is the fork compression caused by your own weight (when you are in ready-to-ride condition). Its value is determined by the air pressure you’ll inflate. It should be in the range of 15-20% of the total fork travel.
Follow these steps to reach your SAG in as few passages as possible:
- Inflate the fork with the suggested air pressures;
- Set the o-ring lean on the wiper;
- Get on your bike in your normal riding position;
- Get off the bike and measure the distance among the O-ring and the wiper, that’s your sag value,
Shock Adjustments
Damping tuning can be sometimes a mine field. Where to start? Trail surfaces change continuously, wet or dry, steep or flat and the list can go on. Taking notes of the setup you’re riding on a well-known trail will help you to understand how the adjustments affect your feeling and your performance. Keep in mind that focusing on a single adjustment at a time will make your life easier in understanding your bike.
This is responsible for you feeling of control while riding but also for your comfort giving the bike the ability to glue wheels to the ground. Start by having a controlled rebound feeling and move from this point until you find the correct setup. You should feel your bike like it sticks to the ground, goes through corners consistently by not getting pushed out of it. Keep in mind that if the rebound is too fast your ride could be uncomfortable and nervous, if it’s too slow your fork will not have enough time to recover the full stroke through the bumps. Start with the suggested setup and then move following your preference and riding style.
High speed compression helps your bike to skip across obstacles before it is transmitted to you. A high-speed compression event is characterized by a high shaft velocity impact (i.e high speed hitting rocks, roots, braking bumps, flat landing). At lower bike speed, HSC is involved in square edges bumps hitting. Start with the suggested setup and then move to get more grip or more control depending on track condition and surface.
Low speed compression manages all changes of the bike stance due to weight translation where low shaft velocity is involved (i.e berms, compressions, g-outs, pedaling) totally independent from how slow or fast the wheels are moving You can obtain a very consistent grip and feedback when you find the correct setup. Start with the suggested setup and move towards a faster, more comfortable or more stable bike.
fORK Adjustments
On the ERA V2.1 fork we can find the same adjustabilty as the shock but the adjustments are located in a different position. Here a quick guide on how to recognize them! Your fork has 3 damping adjustments on the right leg:

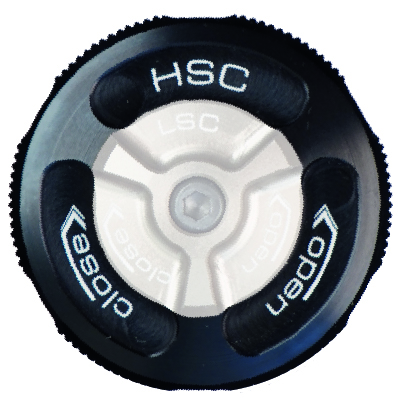
High speed compression also located on top, is the bigger knob, black colored and is placed below the low speed compression dial.
Remember, maximum clockwise = full closed = maximum force for all the adjusters. We consider full closed position as click 0.
To adjust follow these directions:
- Turn the knob adjuster completely clockwise (ZERO POSITION)
- Start to turn counterclockwise until you find the correct setup.
Every different position is signaled by a click.